Have you ever struggled to take the perfect screenshot on your Windows computer? Perhaps you’ve found yourself muddling through various tools and options, trying to find the best way to capture your screen effectively. If this sounds familiar, you’re in for a treat! PowerToys, a powerful suite of utilities from Microsoft, offers a fantastic way to take screenshots, along with several other productivity-enhancing features.
What Are PowerToys?
PowerToys is a collection of utilities designed to enhance your Windows experience. First introduced in Windows 95, this suite has evolved significantly over the years, adding various tools that make managing your desktop, files, and settings much easier. You can think of PowerToys as a toolbox that equips you with additional features not included in standard Windows.
Why Use PowerToys for Screenshots?
Taking screenshots is a common task, whether you’re capturing important information, sharing ideas, or just having fun. While Windows comes with basic screenshot functionality—using the Print Screen key, Snipping Tool, or Snip & Sketch—PowerToys offers advanced features that streamline the screenshot process and add extra options.
Installing PowerToys
Before you can start using it, you need to install PowerToys on your Windows device. It’s an easy process, so don’t fret!
Steps to Install PowerToys
- Visit the GitHub Page: Go to the official PowerToys GitHub releases page. This is where the latest version is available.
- Download the Installer: Look for the most recent release and download the
.exefile. - Run the Installer: Double-click the downloaded file. Follow the prompts to install PowerToys on your computer.
- Launch PowerToys: After the installation is complete, open PowerToys. You’ll notice a friendly window with various utilities available to you.
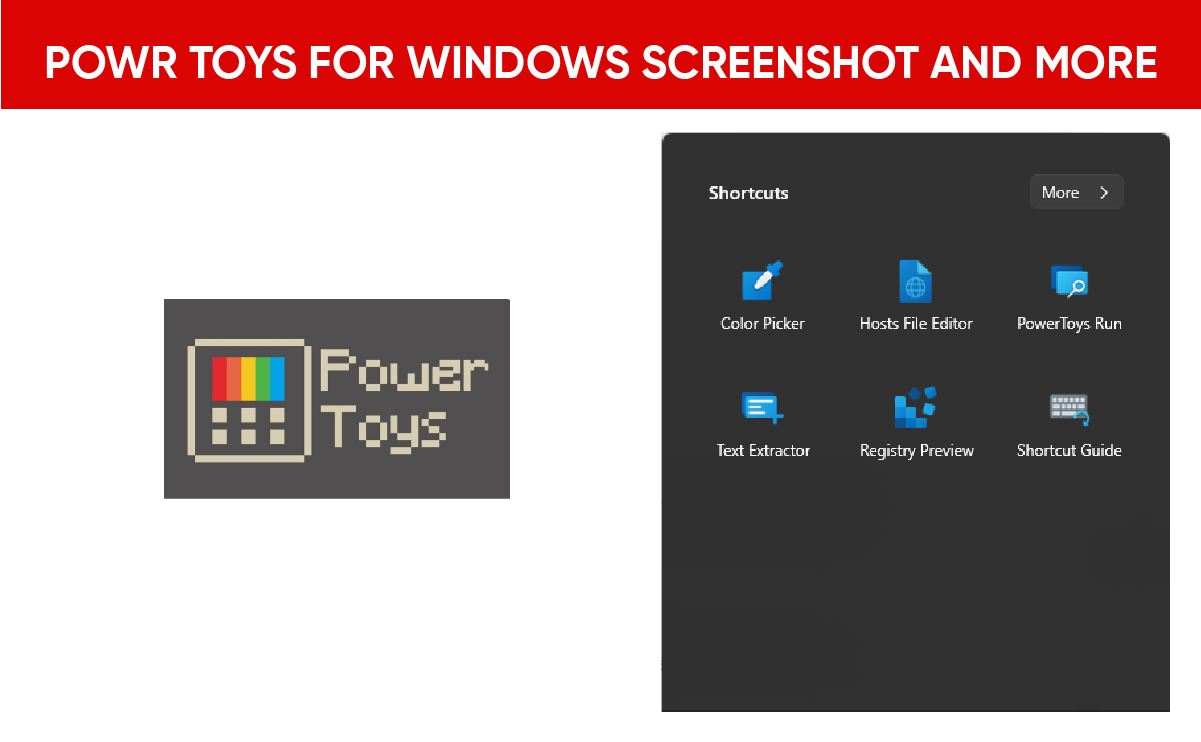
Getting Familiar with the Interface
Once you’ve successfully installed PowerToys, it’s time to familiarize yourself with the interface. The layout is intuitive, offering a sidebar displaying all the tools you can access.
Main Features Overview
Here are a few notable features you might find interesting beyond just screenshots:
- Shortcut Guide: Displays all the Windows shortcuts currently available.
- FancyZones: A productivity tool that allows you to manage and enforce window layouts easily.
- Keyboard Manager: Remaps keys and creates keyboard shortcuts for better workflow.
- File Explorer Add-ons: Enhances file management.
Using the Screen Capture Utility in PowerToys
The screenshot feature in PowerToys is called “Screen Ruler.” It is not just about taking standard screenshots; it enables you to capture exactly what you want with precision.
Steps to Capture a Screenshot
- Open PowerToys: If it’s not already running, launch it from your Start menu.
- Activate the Utility: Click on “Screen Capture” in the sidebar. Ensure it’s turned on.
- Select Capture Mode: You can choose between full screen, window, or a custom area.
- Hit the Hotkey: Press
Win + Shift + Sto enter the screenshot mode. - Make Your Selection: Click and drag your mouse to select the area you want to capture. Release the mouse button when you’re happy with your selection.
- Save or Copy the Screenshot: After you take the screenshot, it will be copied to your clipboard for easy pasting or saved to a designated folder.
Screenshot Modes Explained
Let’s break down the different screenshot options available in PowerToys:
| Mode | Description | Best Use Case |
|---|---|---|
| Full Screen | Captures the entire screen | Presentations, entire web pages |
| Window | Captures a single open window | Specific software windows |
| Custom Area | Allows you to select any part of your screen | Focused captures of important content |
Editing Your Screenshots
After taking a screenshot, you often want to edit it. As PowerToys lacks integrated editing tools, you’ll need to use external programs. However, the benefits of quickly capturing and saving your screenshot can still streamline this process.
Recommended Editing Tools
- Microsoft Paint: A straightforward tool for quick edits and annotations.
- Snagit: A more advanced option with an array of editing features.
- Greenshot: Lightweight software for simple annotations and editing.
Shortcuts to Streamline Your Workflow
To make your screenshot-taking process even more efficient, familiarize yourself with the keyboard shortcuts available in PowerToys. Here are some of the most useful ones:
| Action | Shortcut |
|---|---|
| Activate Screenshot Tool | Win + Shift + S |
| Copy Screenshot to Clipboard | Ctrl + C after capturing |
| Open Clipboard History | Win + V |
Customizing Your Screenshot Preferences
Did you know that you can customize how PowerToys captures your screenshots? This can help you align the tool’s performance with your personal workflow.
Steps to Customize Settings
- Open PowerToys: Click on the PowerToys icon in your system tray.
- Go to Settings: In the sidebar, select the “Screen Capture” option.
- Adjust Preferences: Here, you can change the default file format, specify the save location, and set shortcuts according to preference.
Choosing Your File Format
Here are the options for file formats and their uses:
| Format | Description | Use Case |
|---|---|---|
| PNG | Lossless quality, ideal for images | High-quality screenshots |
| JPEG | Compressed format, smaller file size | Quick sharing of images |
| GIF | Animated format, useful for tutorials | Capturing short animated sequences |
Tips for Improved Screenshot Quality
If you want to boost the quality of your screenshots, a few tips can significantly help.
- Use the Right Resolution: Ensure your screen resolution is set to a level that maintains image clarity. Higher resolutions generally result in clearer screenshots.
- Minimize Distractions: Close unnecessary applications and tabs to focus on the area you want to capture.
- Use Zoom: If you’re capturing text from a website, zooming in can help enhance readability and sharpness.
Troubleshooting Common Issues
Even the best tools can have their hiccups. If you encounter any issues while using PowerToys, don’t worry—most problems are easy to fix.
Common Problems and Solutions
| Problem | Potential Solution |
|---|---|
| PowerToys doesn’t launch | Reinstall the application |
| Screenshots aren’t saving | Check your settings for save location |
| Hotkeys not working | Verify if other applications are using conflicting shortcuts |
Utilizing Other PowerToys Features
While taking screenshots is certainly fantastic, PowerToys comes with a whole range of utilities that can enhance your overall Windows usage.
FancyZones for Window Management
FancyZones allows you to create custom layouts for your desktop windows. This can dramatically improve your productivity by helping you organize multiple open applications efficiently.
Keyboard Manager to Customize Shortcuts
With the Keyboard Manager, you can remap keys and create shortcuts that can save you time during your workday.
Conclusion
Taking effective screenshots on Windows has never been easier than with PowerToys. With its user-friendly interface, customizability, and additional productivity tools, it can truly transform your workflow. Don’t forget to explore the other features PowerToys offers so that you can maximize your efficiency, whether you’re working on projects, sharing information, or simply enjoying new software.
Now that you know how to use PowerToys for screenshots, why not give it a try? With these tips and tricks in mind, you’ll soon be capturing your screen like a pro!